Original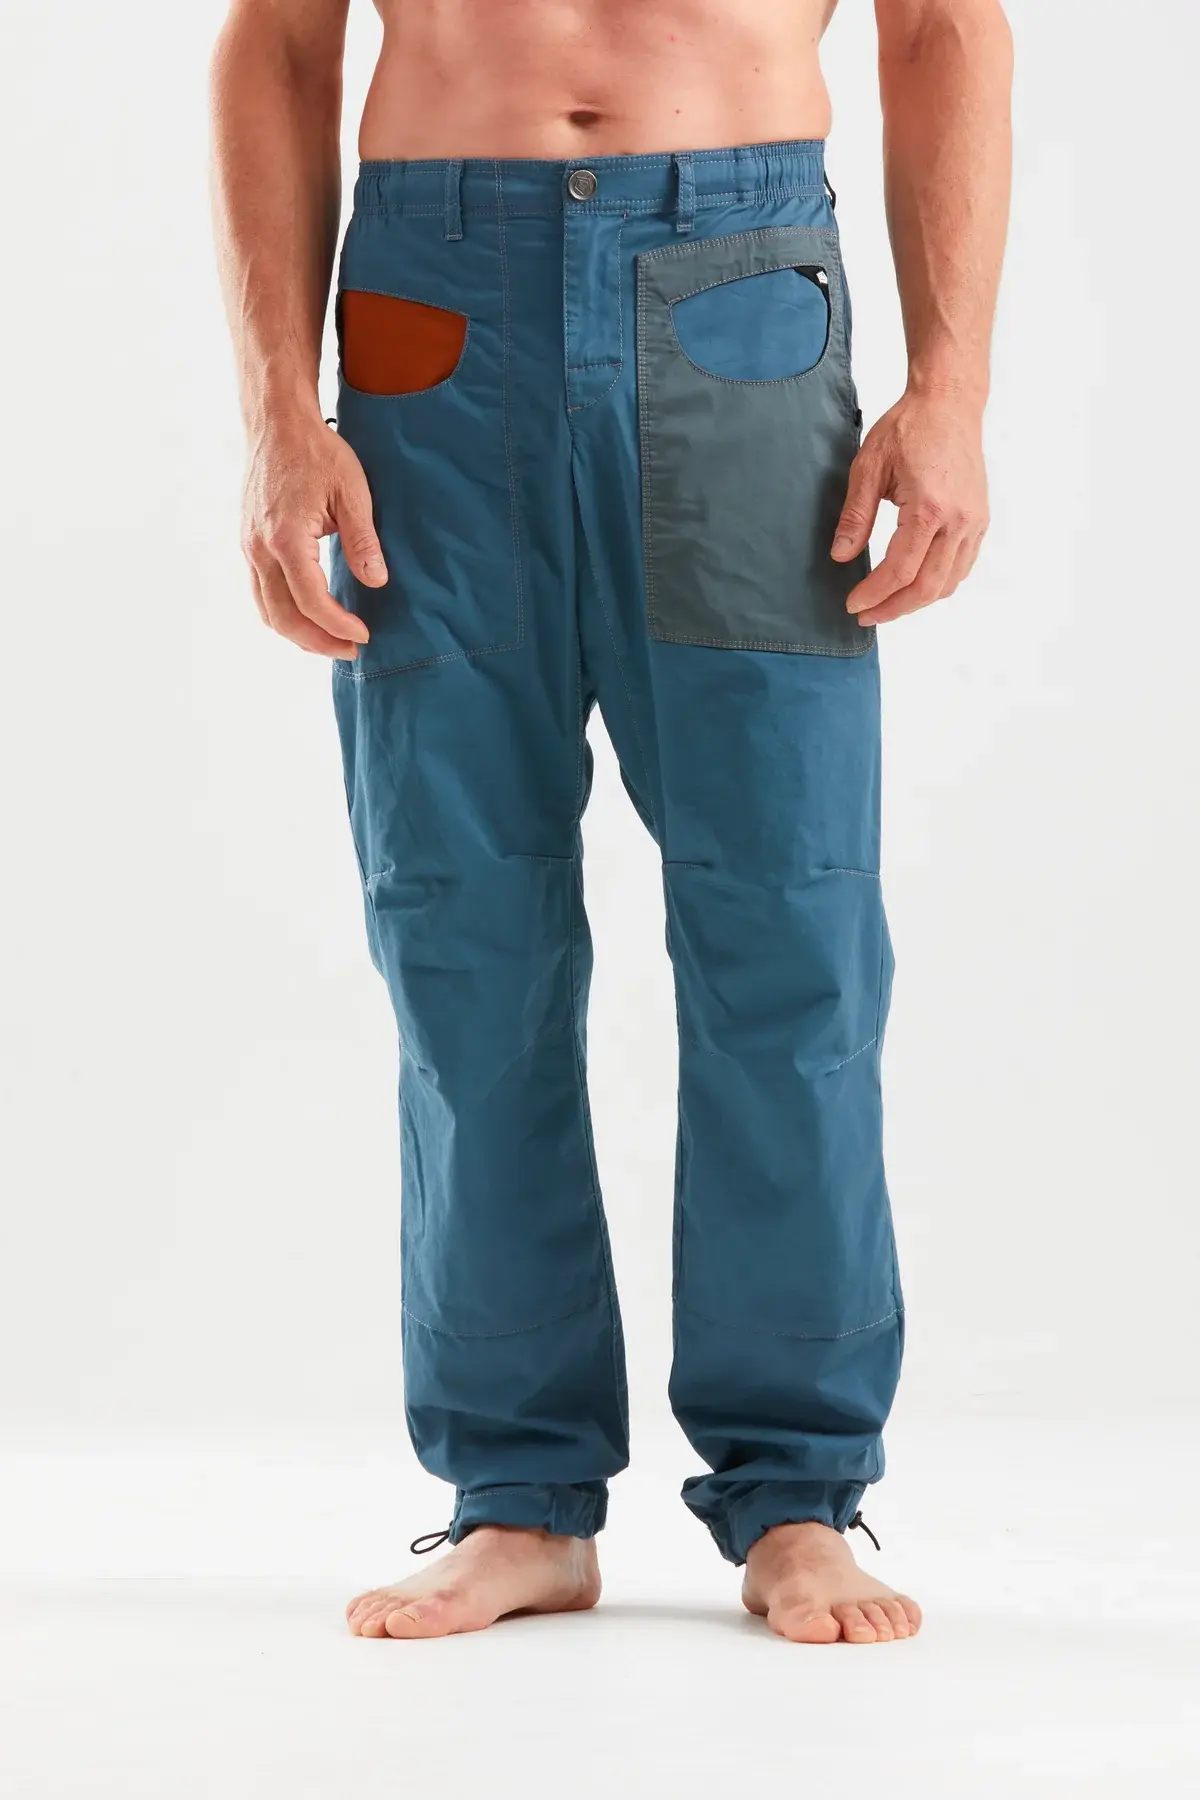
Original
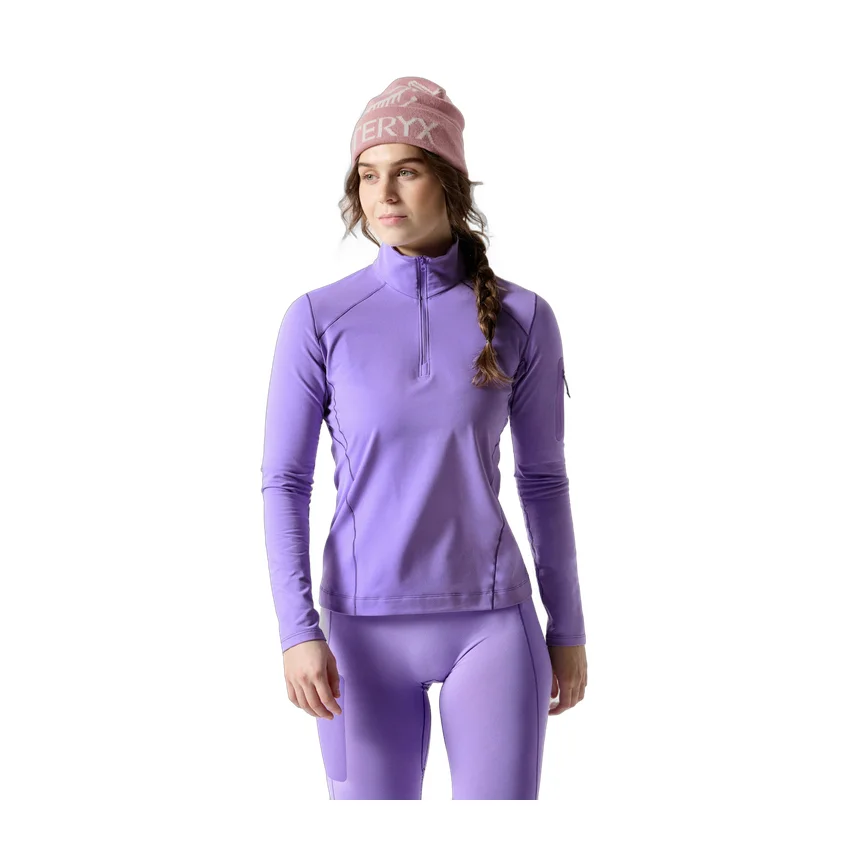
As shot — trousers on a model against a studio backdrop.
For product photos the tool does the clean-up automatically — it removes the background, centres the product in the frame, and adds even spacing all the way around. Here is the before and after on three real shots.
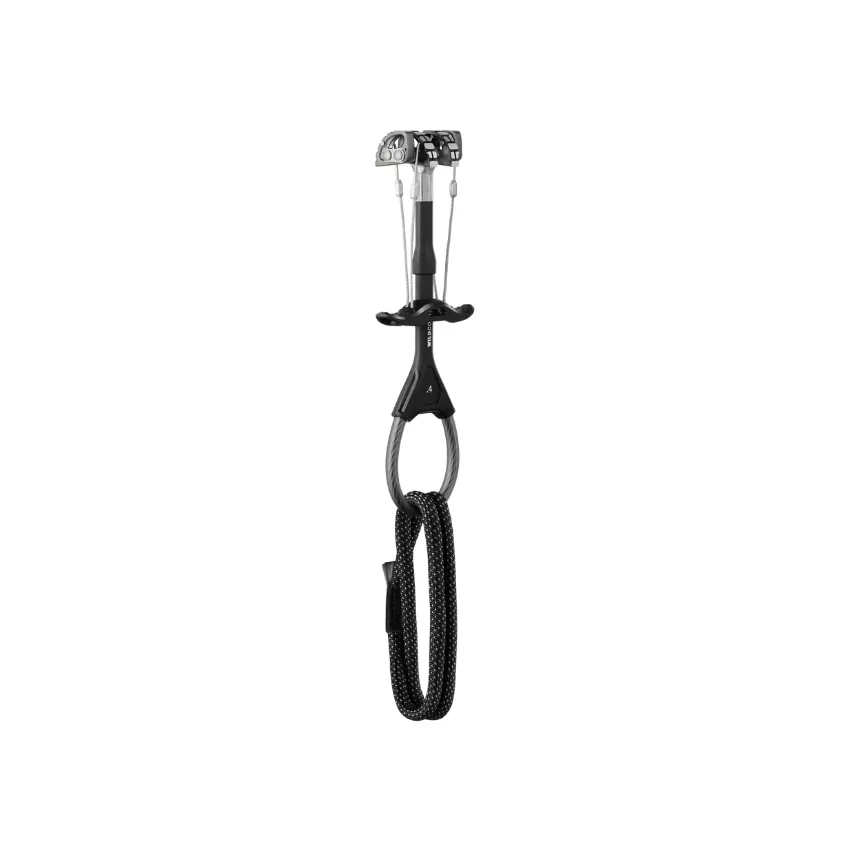
The product sat too close to the edges. The tool removed the background, centred it, and added even spacing all the way around.
This one had too much empty space. The tool cropped in tight, then added the standard spacing so it matches the rest of the catalogue.
Studio shots on a light background get the background removed automatically, leaving a clean product-on-white result ready to upload.

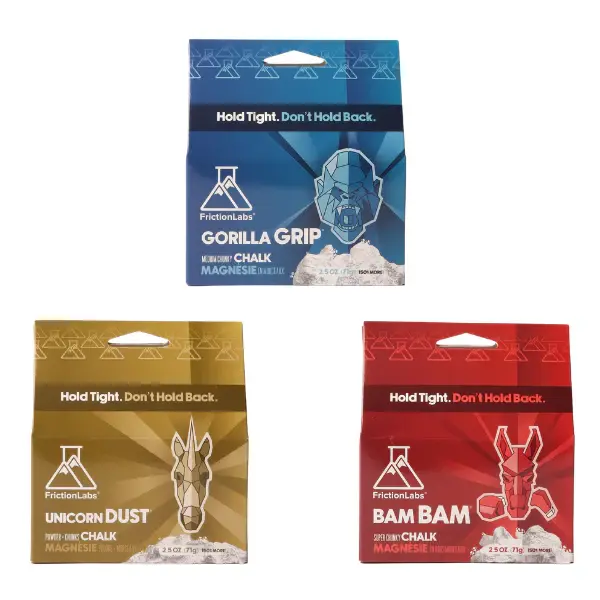
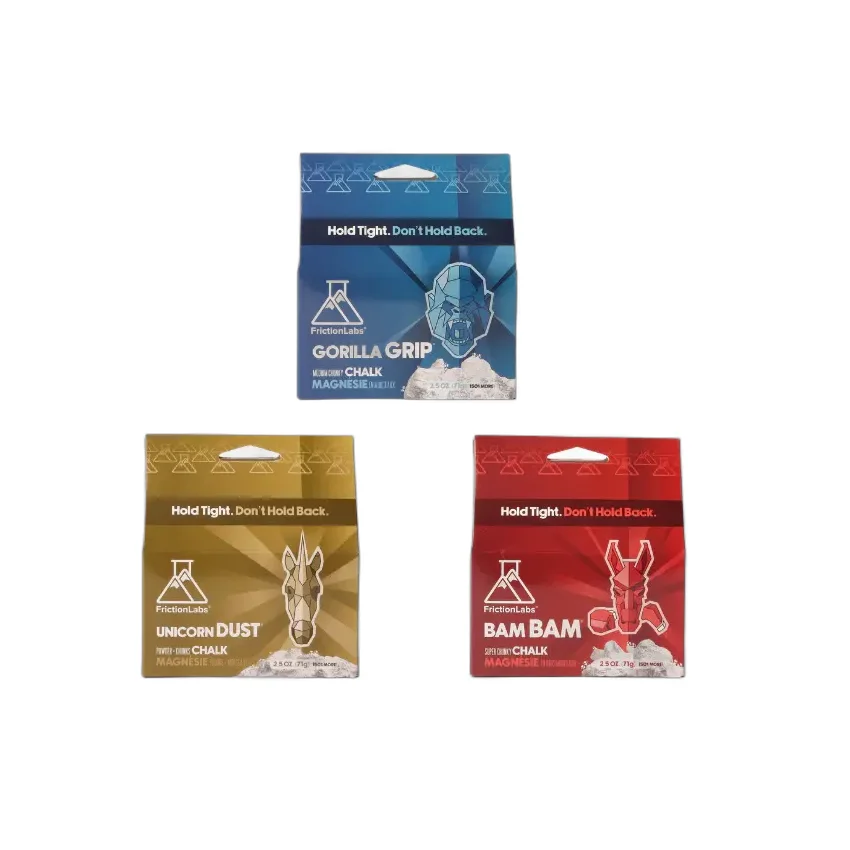
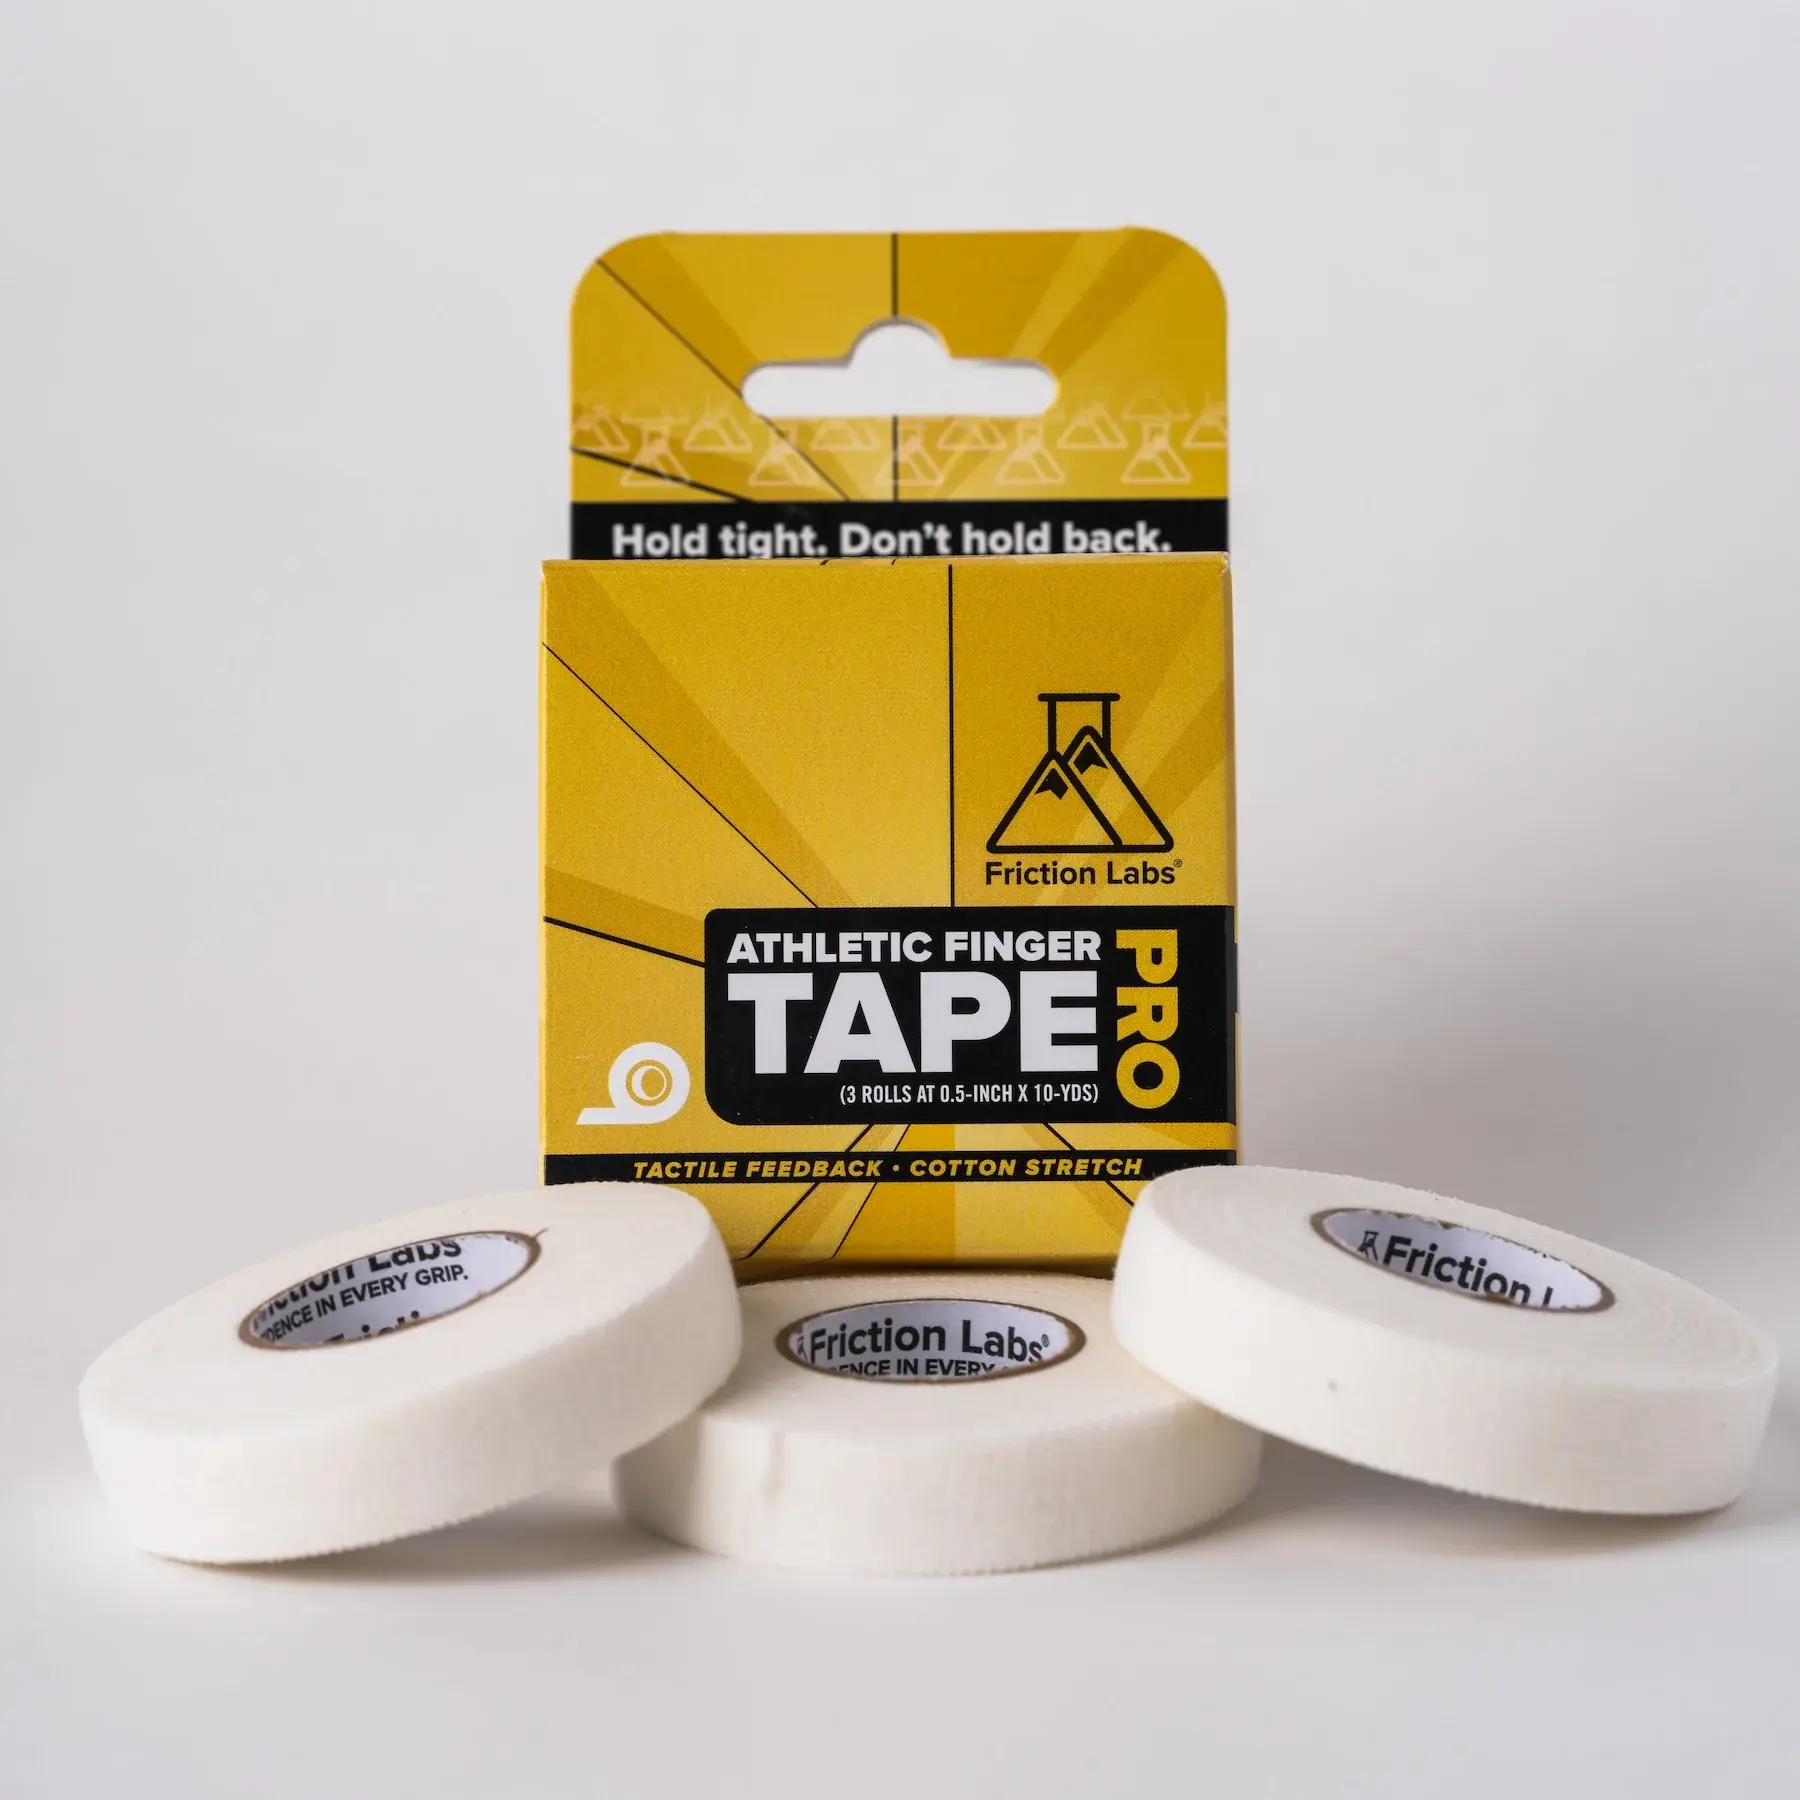
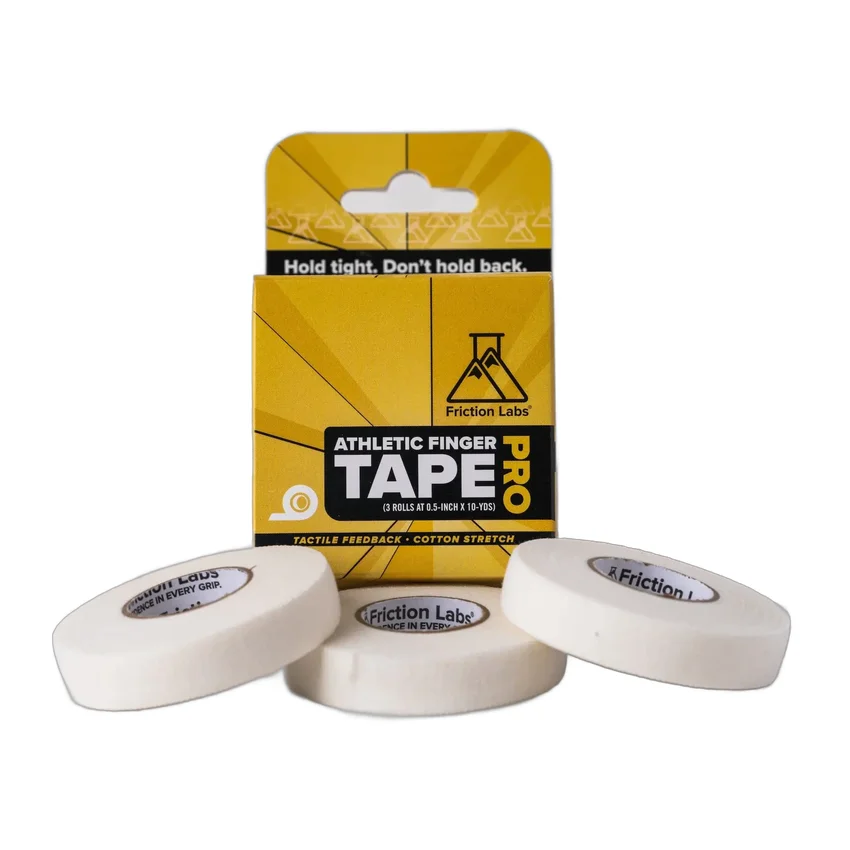
A multi-pack on a busy background. The tool lifted all three boxes off cleanly, kept them together, and centred the group on white.
Retail box with the tape rolls staged in front. The tool kept the whole arrangement intact, removed the grey studio backdrop, and added even spacing.
Clothing photographed on a person is its own case. The studio background still comes off — but the model has to stay whole. The general background remover treats the person as clutter and slices into their arms, so for worn apparel the tool switches to a person-aware cut that keeps the whole model and drops only the backdrop.
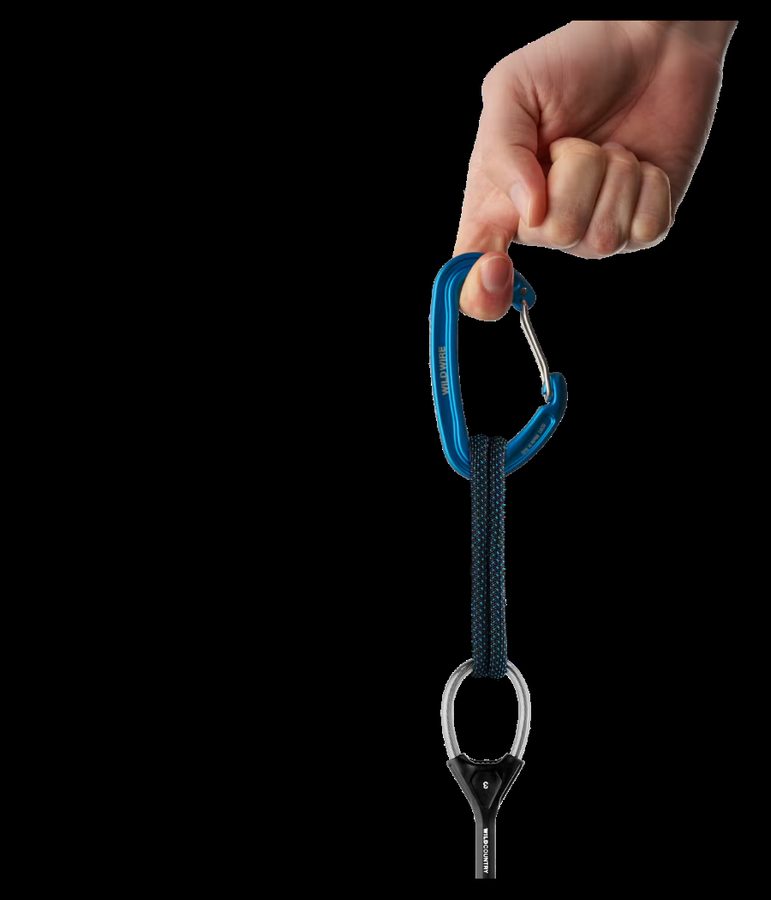
Here is the same shot, background removed two ways. The general remover eats into the arms and leaves a grey ghost; the person-aware cut keeps the model complete with a clean edge. Both drop the backdrop — only one keeps the person intact.
As shot — trousers on a model against a studio backdrop.
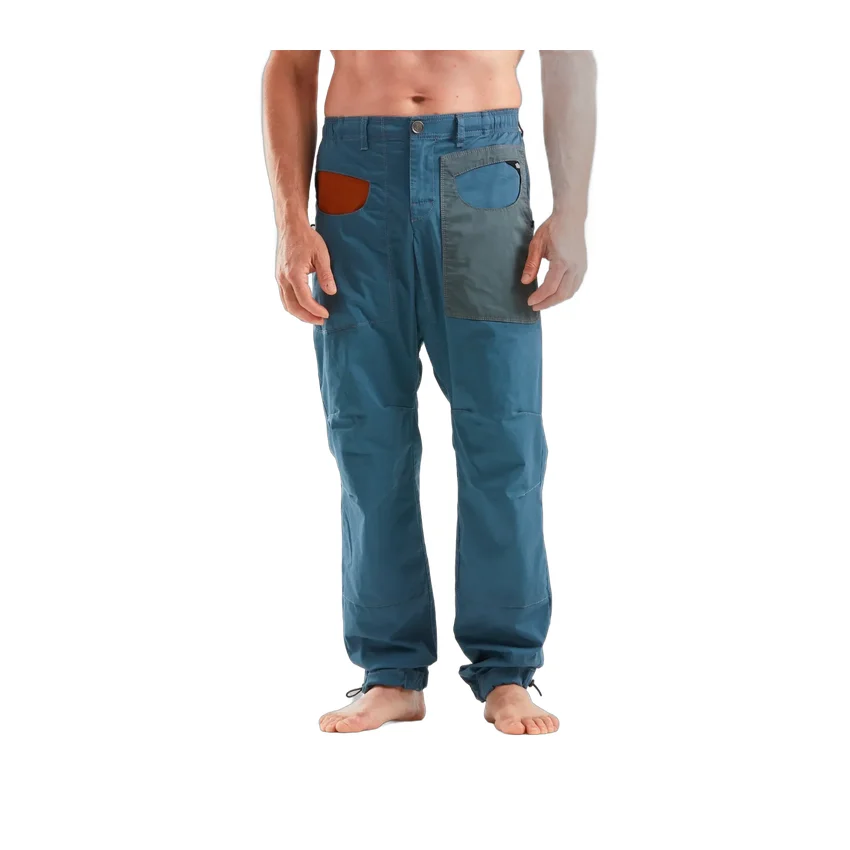
The standard remover slices into the arms and leaves a grey ghost down one side. Not usable.
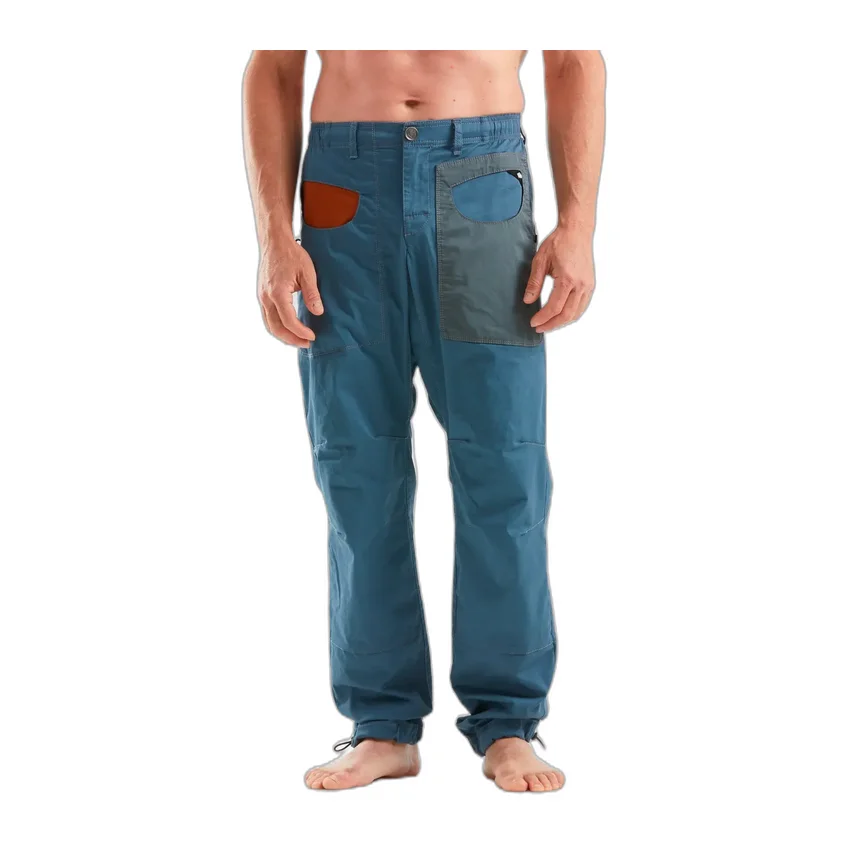
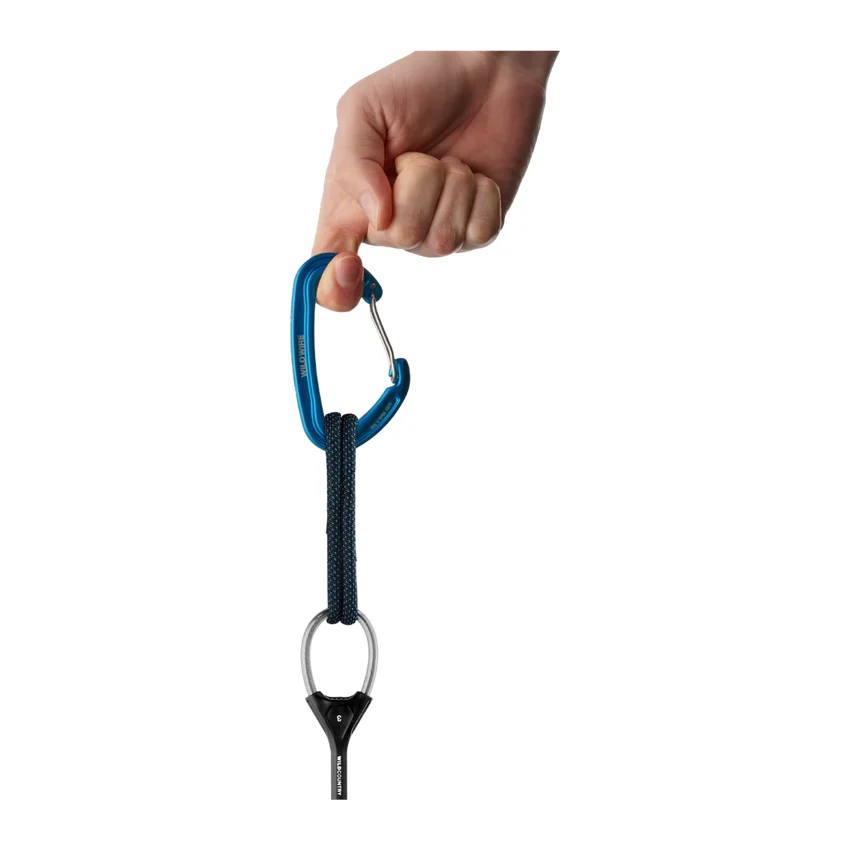
Model kept whole, arms and all, with the backdrop cleanly removed onto white.
The rest of the range, all handled the same way — background removed with the person-aware cut and centred on white. Even the tight detail crop keeps a clean edge with no holes punched through the fabric.
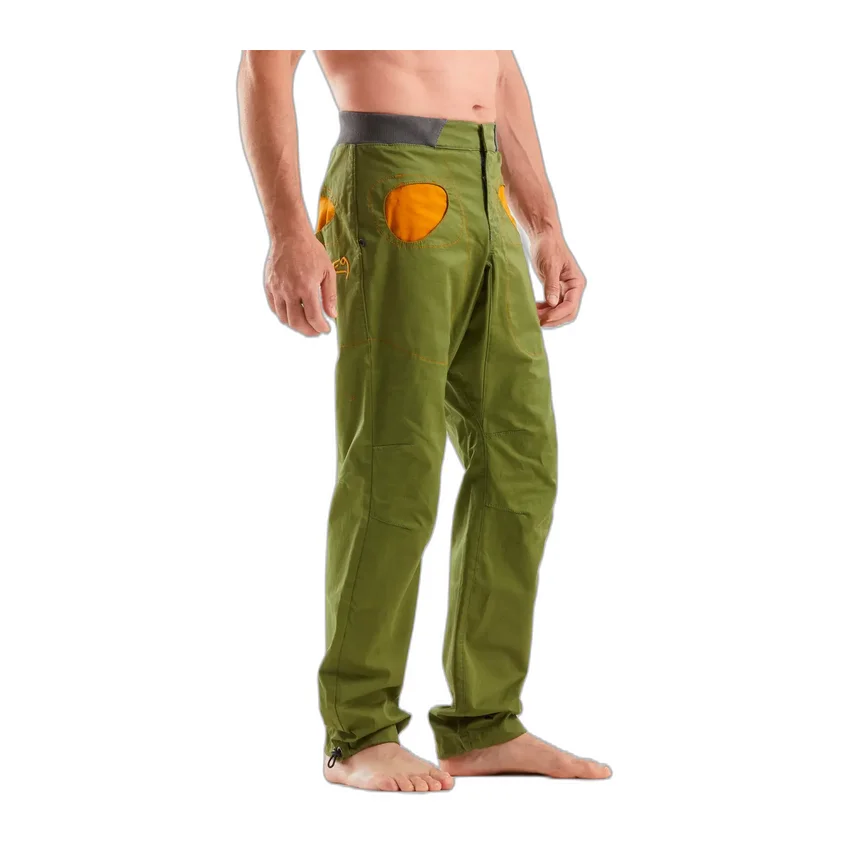
Full front view, model intact, centred on white.
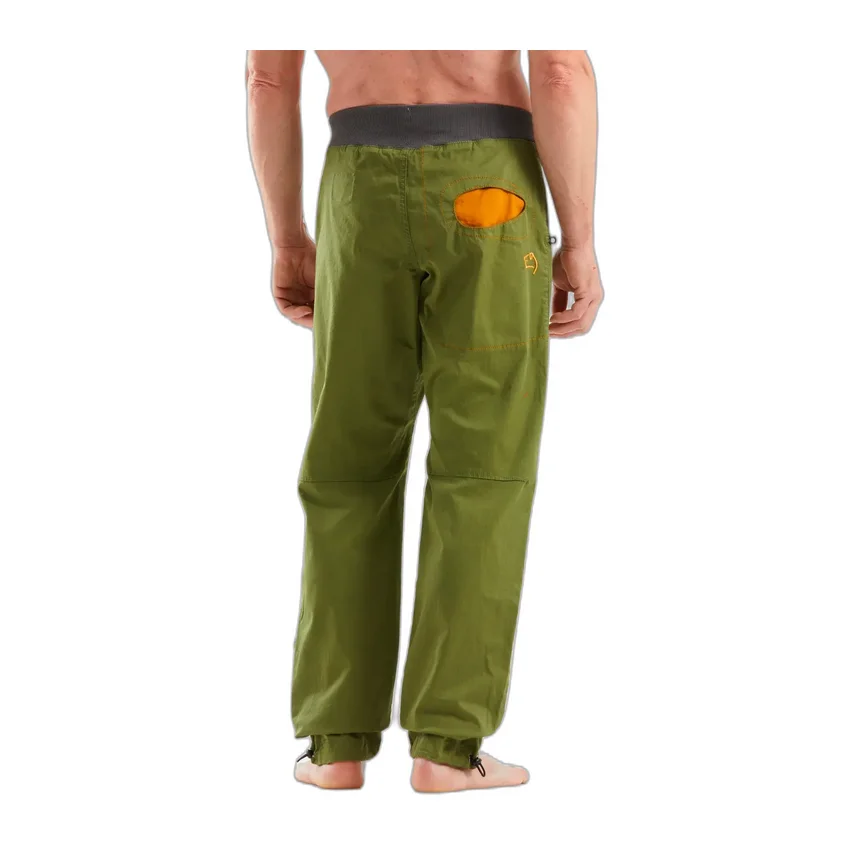
Matching back view, cut the same clean way.
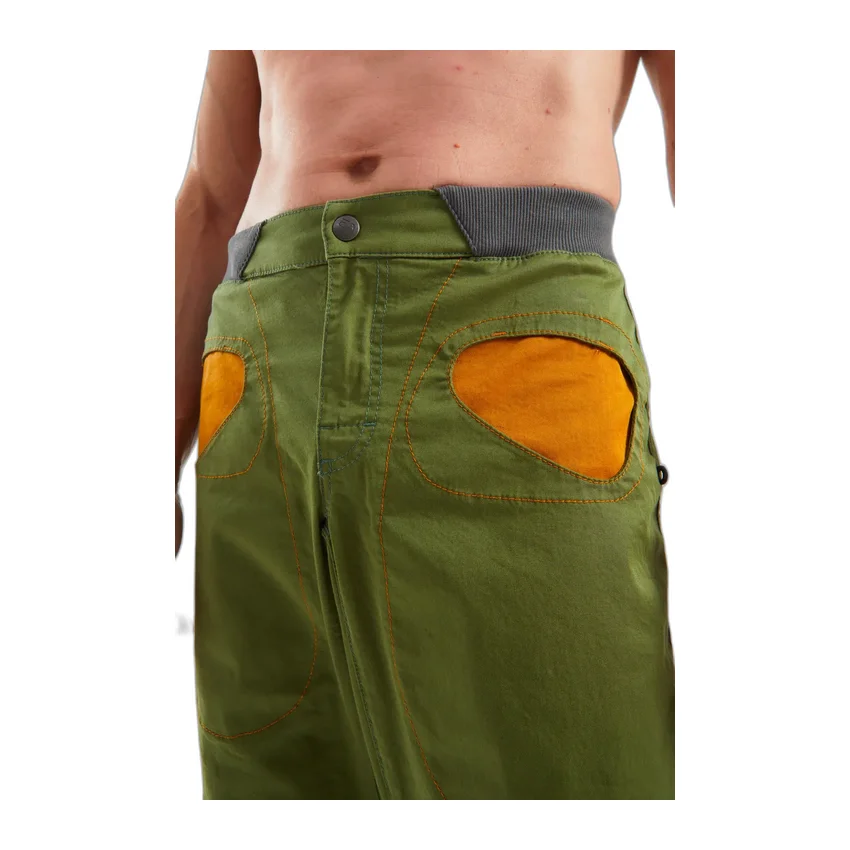
A tight pocket close-up, clean-edged with no holes.
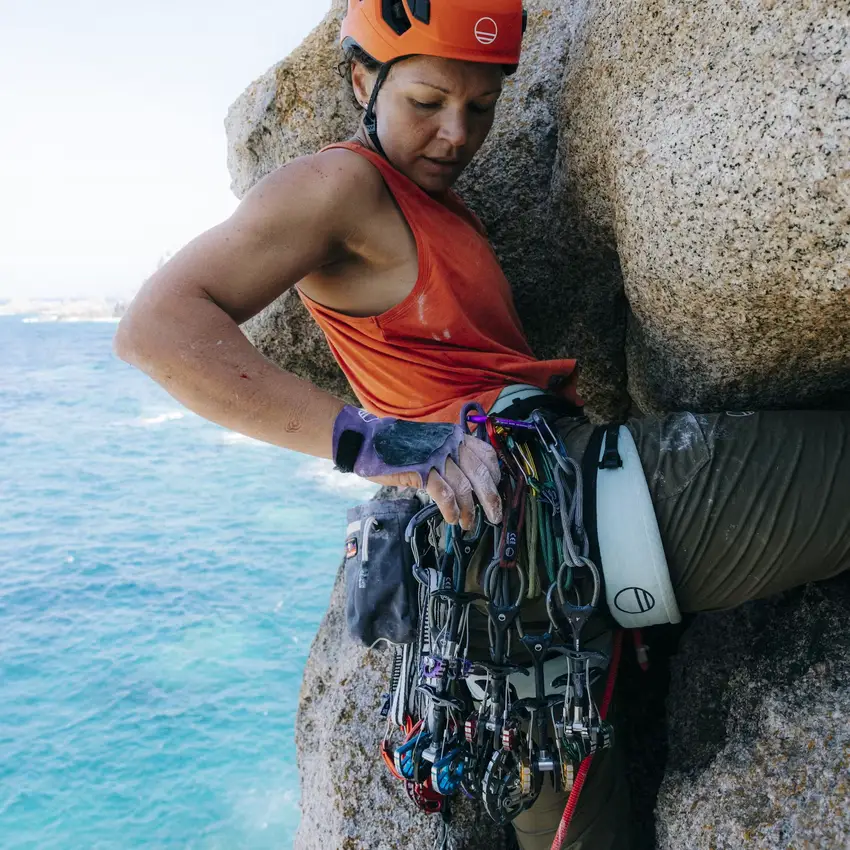
Lifestyle and action photos keep their background — there is nothing to remove from a climber halfway up a cliff. Instead the tool offers three ways to fit the photo into the square format, and you choose whichever looks best for each shot. Below are all three options, side by side, for three real examples.
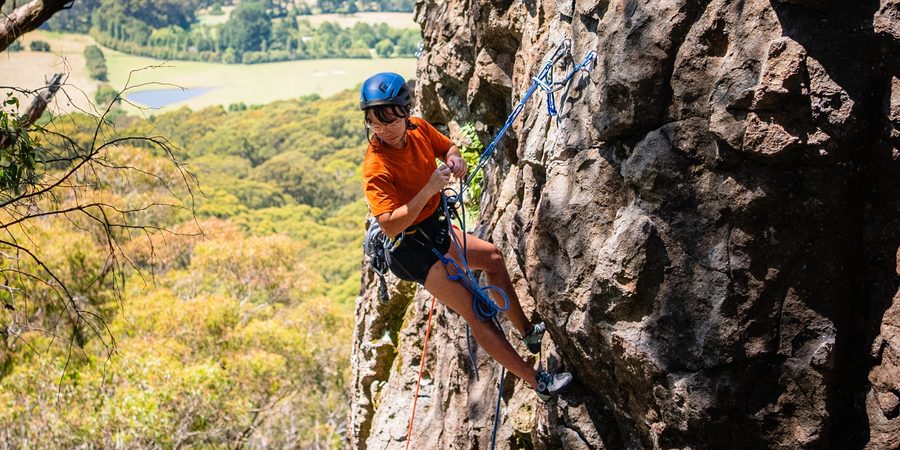
The photo as shot — wider than it is tall.
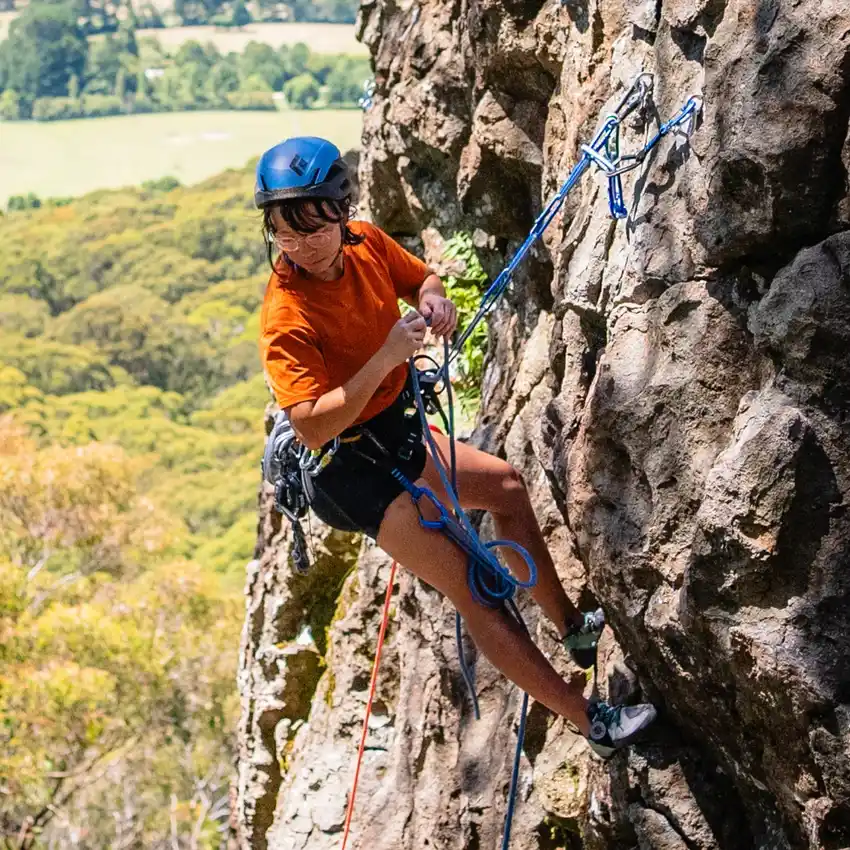
Crops to the middle square. Fills the frame, but can clip the edges of the scene or a person.

Finds the person and crops around them, keeping them centred and prominent.
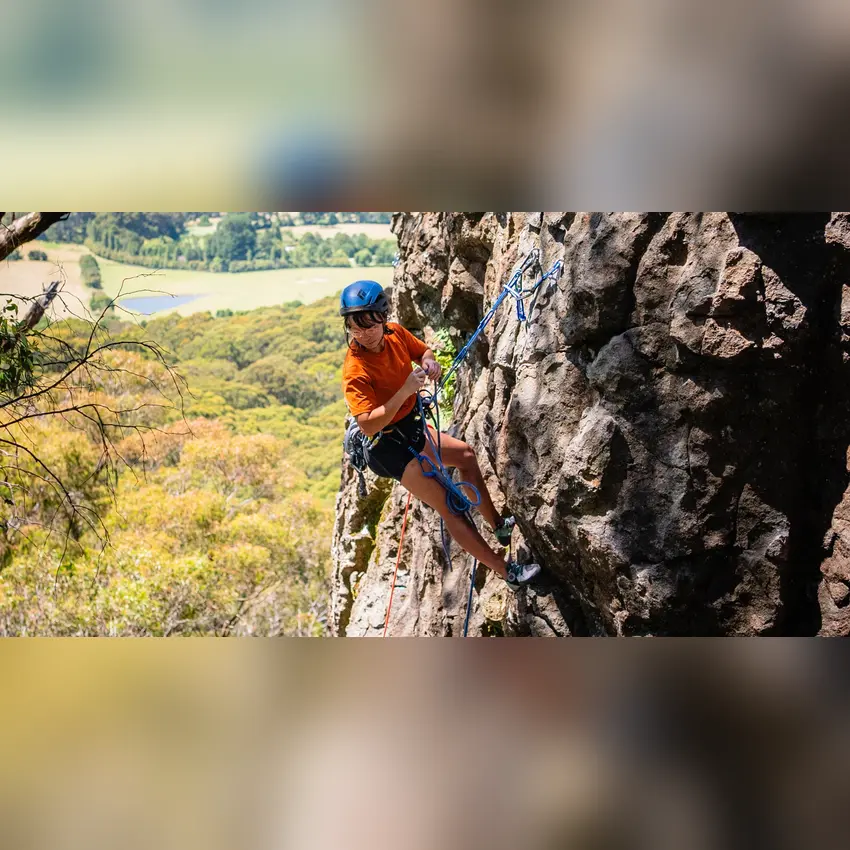
Keeps the entire photo, filling the gaps with a soft blur. Nothing gets cropped.
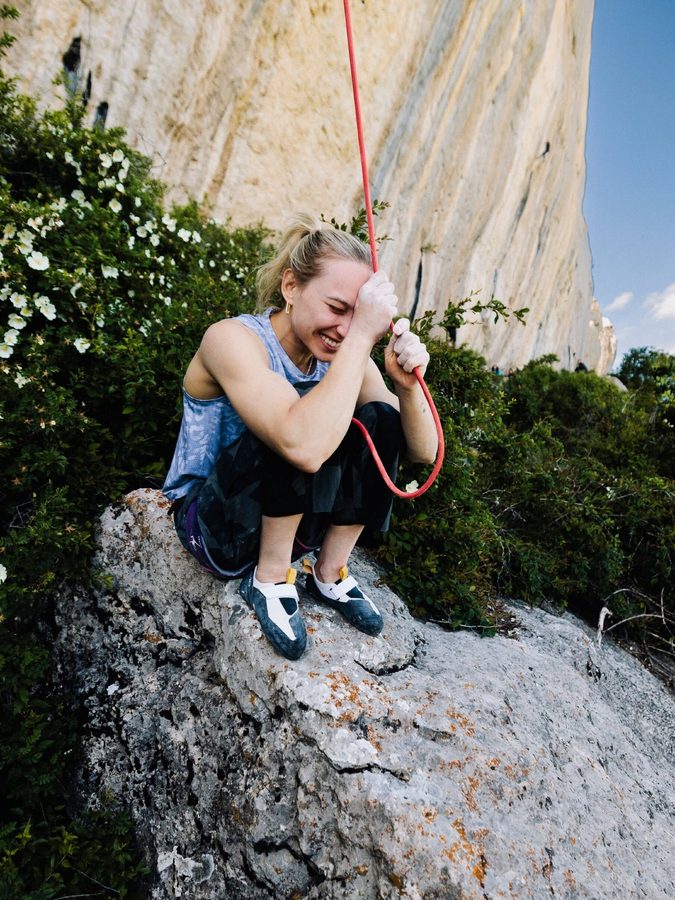
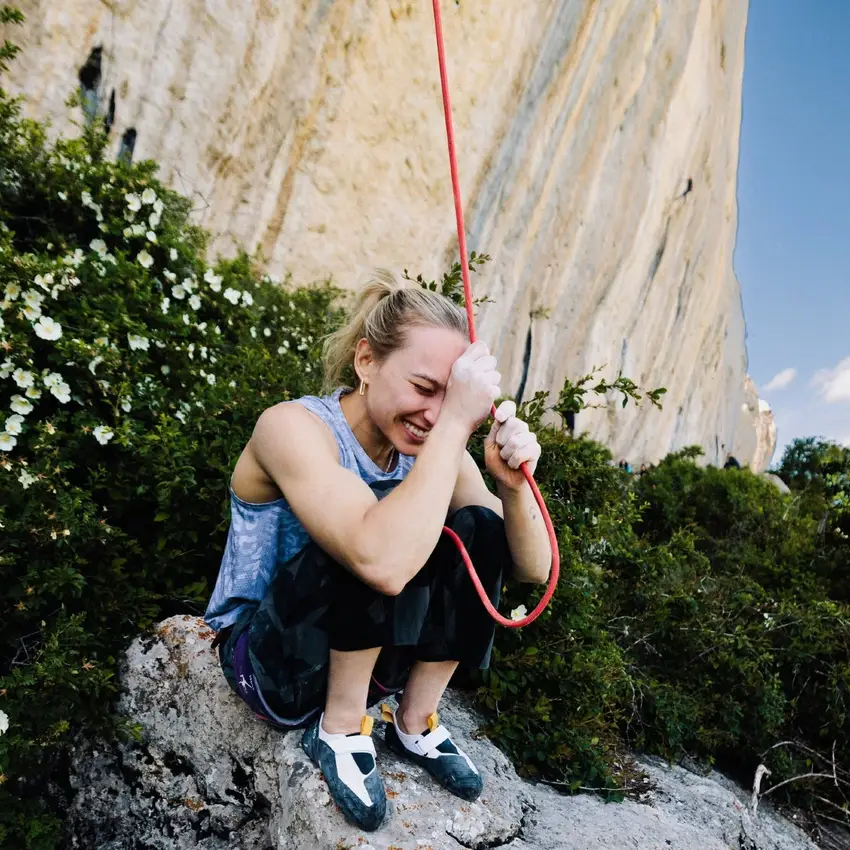
The photo as shot — taller than it is wide.
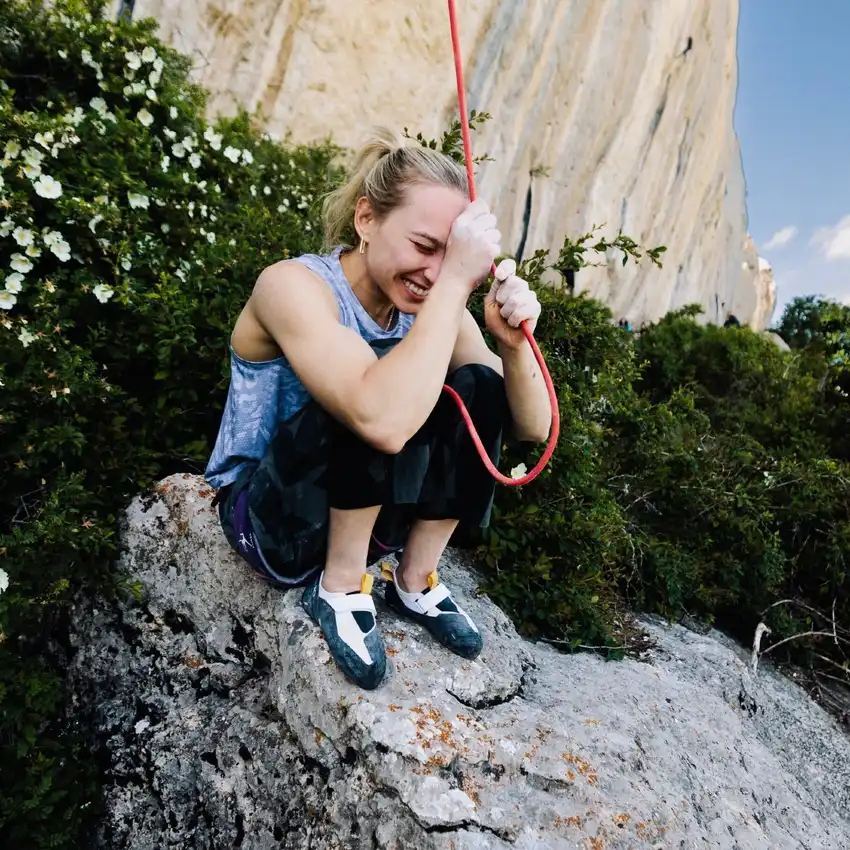
Crops to the middle square. Fills the frame, but can clip the edges of the scene or a person.
Finds the person and crops around them, keeping them centred and prominent.
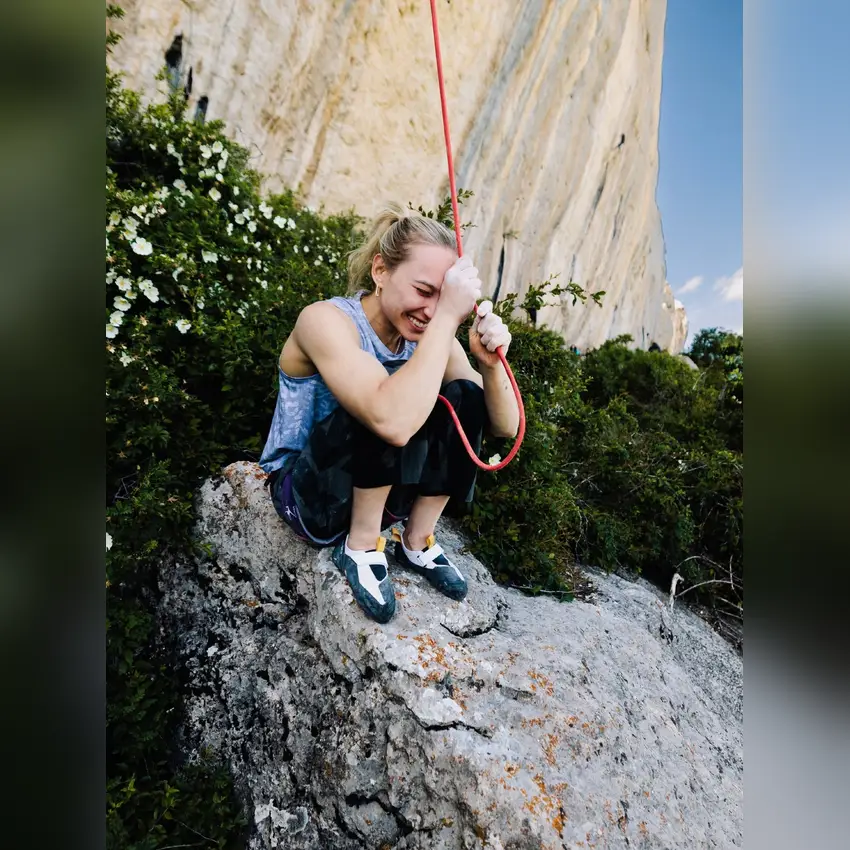
Keeps the entire photo, filling the gaps with a soft blur. Nothing gets cropped.

The photo as shot — close to square already.

Crops to the middle square. Fills the frame, but can clip the edges of the scene or a person.

Finds the person and crops around them, keeping them centred and prominent.
Keeps the entire photo, filling the gaps with a soft blur. Nothing gets cropped.